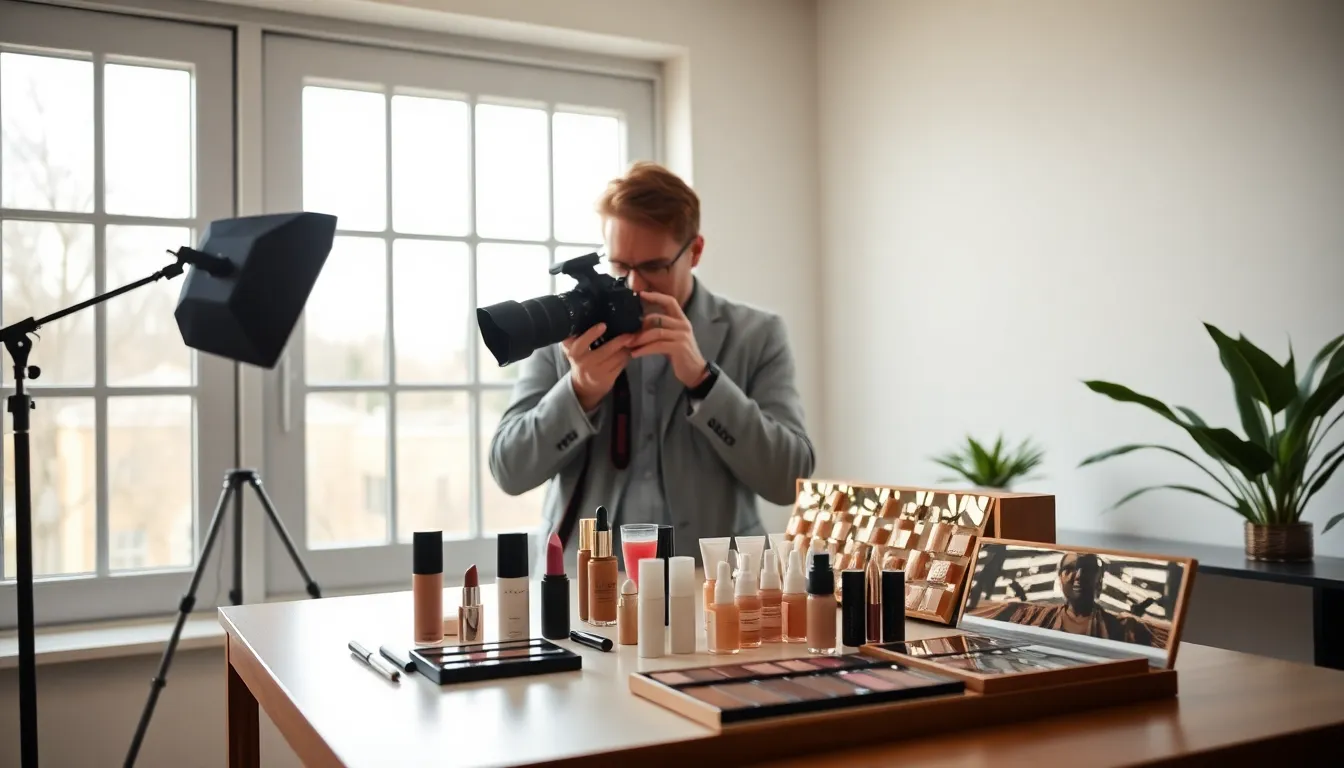
In the world of product photography, lighting is the unsung hero that can make or break a shot. Think of it as the magic wand that transforms a dull object into a dazzling masterpiece. Without the right lighting, even the most stunning products can look like they belong in the clearance bin.
Imagine trying to sell a gourmet cupcake with a photo that looks like it was taken in a cave. Not ideal, right? Mastering product photography lighting is essential for grabbing attention and boosting sales. It’s not just about making things look pretty; it’s about showcasing products in their best light—literally! So let’s dive into the illuminating world of lighting techniques that’ll have customers drooling over your products before they even hit ‘add to cart’.
Understanding Product Photography Lighting
Lighting plays a crucial role in product photography. Mastering different lighting techniques can elevate product images, making them more appealing to potential customers.
Importance of Lighting in Product Photography
Lighting enhances the product’s features while minimizing flaws. Strong lighting can create depth, emphasize texture, and generate interest. Poor lighting can lead to shadowy images that obscure details. A well-lit product image attracts more viewers and can impact purchasing decisions. Research shows that high-quality images can increase sales by up to 30%. Lighting significantly affects how potential buyers perceive quality, allowing brands to convey professionalism.
Types of Lighting Setup
Multiple lighting setups exist for product photography, each with unique benefits. Natural light offers a soft and flattering effect, ideal for various product types. Softbox lighting provides even illumination, reducing harsh shadows and highlights. Ring lights focus on subjects, offering a bright, uniform light perfect for small items like jewelry. Continuous LED lights allow for easy adjustments and consistent illumination during shoots. Having several options enables photographers to choose the best setup for each product.
Natural Light vs. Artificial Light
Lighting plays a pivotal role in product photography. Each type of lighting—natural and artificial—offers distinct advantages that can significantly impact the final outcome.
Advantages of Natural Light
Natural light creates a soft and flattering effect that enhances products. Many photographers appreciate how it captures colors accurately and minimizes harsh shadows, resulting in an authentic look. Product visibility improves, especially during the golden hours of morning and evening. Working with natural light eliminates equipment costs, making it accessible for both amateurs and professionals. Versatility allows photographers to shoot in various settings, from indoor locations with large windows to outdoor environments. Adjusting angles can help achieve desired highlights and contrasts, giving images a dynamic feel.
Benefits of Artificial Light
Artificial light provides consistent illumination, critical for studio settings. Photographers often use softboxes, ring lights, and LED panels to control brightness effectively. Flexibility in placement allows for specific lighting setups tailored to product features. This control helps eliminate unwanted shadows, ensuring every detail stands out. Additionally, scheduling becomes easier, as artificial lighting isn’t dependent on weather conditions or time of day. Budget-friendly options exist, enabling photographers to create professional quality images without extensive investment. Overall, artificial light remains a reliable choice for capturing products in a polished manner.
Essential Lighting Equipment
Achieving excellent product photography relies heavily on choosing the right lighting equipment. Specific tools enhance the quality of images, making products appear more attractive and professional.
Key Light Sources
Strobe lights provide powerful bursts of light ideal for capturing sharp images of products. Continuous lights offer a steady source of illumination, allowing for real-time adjustments and immediate feedback on lighting effects. Softboxes diffuse harsh light, creating a soft glow that enhances details without shadow harshness. Ring lights deliver even lighting around the product, perfect for close-up shots that highlight features and textures. Each of these light sources contributes distinctly, enabling photographers to tailor their approach based on the product type.
Modifiers and Accessories
Light reflectors redirect light to fill in shadows, ensuring a balanced exposure in images. Diffusers soften light, reducing glare and producing a more natural appearance. Light stands provide stability and flexibility, allowing for easy height and angle adjustments. Backdrops help eliminate distractions while providing contrast to products, enhancing their presence in photographs. Using these modifiers and accessories maximizes the effectiveness of primary light sources, delivering high-quality results consistently.
Tips for Effective Product Photography Lighting
Effective product photography lighting techniques maximize product appeal and enhance image quality. Understanding proper light positioning and shadow management is crucial for capturing professional-grade images.
Positioning Your Lights
Correctly positioning lights plays a vital role in product photography. Place lights at different angles to find the optimal setup for each product. Experiment with overhead lighting, side lighting, and front lighting to achieve desired effects. Using multiple light sources can create a balanced look, eliminating harsh shadows. Ensure key lights highlight essential features of products while softer lights fill in shadows. Adjusting the distance between lights and product can also fine-tune brightness levels. Incorporate softboxes to diffuse light, resulting in a softer, more pleasing illumination. This approach enhances textures and details, making products more attractive to potential buyers.
Managing Shadows and Reflections
Shadows and reflections significantly impact product photography results. Controlling them can enhance the overall quality of images. Avoid harsh shadows by positioning lights correctly and using diffusers or reflectors. Soft, evenly distributed light highlights product features without distracting shadows. When dealing with reflective surfaces, finding the right angle prevents unwanted glare. Utilize polarizing filters to manage reflections effectively and maintain color accuracy. Experiment with the distance of the product from reflective surfaces to reduce distortion and unwanted effects. Properly managing shadows and reflections contributes to a polished, professional appearance, crucial for attracting customer attention.
Mastering product photography lighting is essential for creating captivating images that draw in customers. By understanding the nuances between natural and artificial light and utilizing the right equipment, photographers can showcase products in their best light. Properly managed lighting not only highlights product features but also minimizes flaws, ultimately influencing buying decisions.
With the right techniques and a bit of experimentation, anyone can elevate their product photography to a professional level. Investing time in learning about lighting can lead to significant improvements in image quality and sales, making it a crucial aspect of any successful photography strategy.